Dowager’s hump exercises

Today I’m going to be talking about the Dowager’s hump and showing your some Dowager’s hump exercises to help alleviate the issue and improve your posture at the same time.
The video below would be the best way to see the exercises – but if you prefer to read – I’ve added some description and images underneath.
I really hope this helps.
What is the Dowager’s Hump?
The Dowager’s hump is the fatty deposit that lies on the base of the neck line, C7 and the top of your thoracic spine, T1.
You can see it pointed out below.
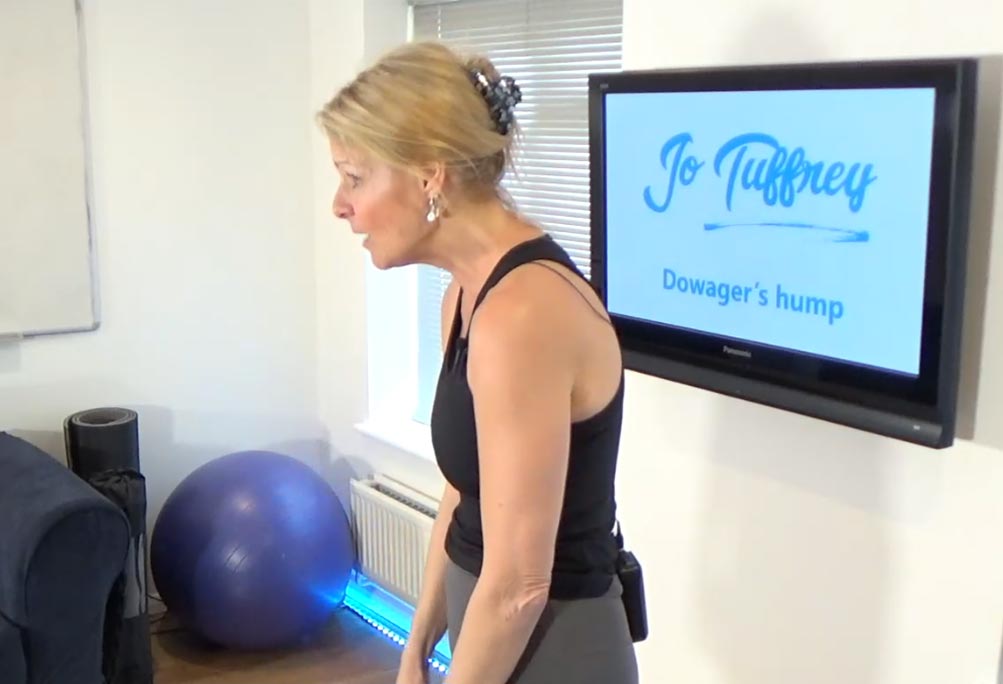
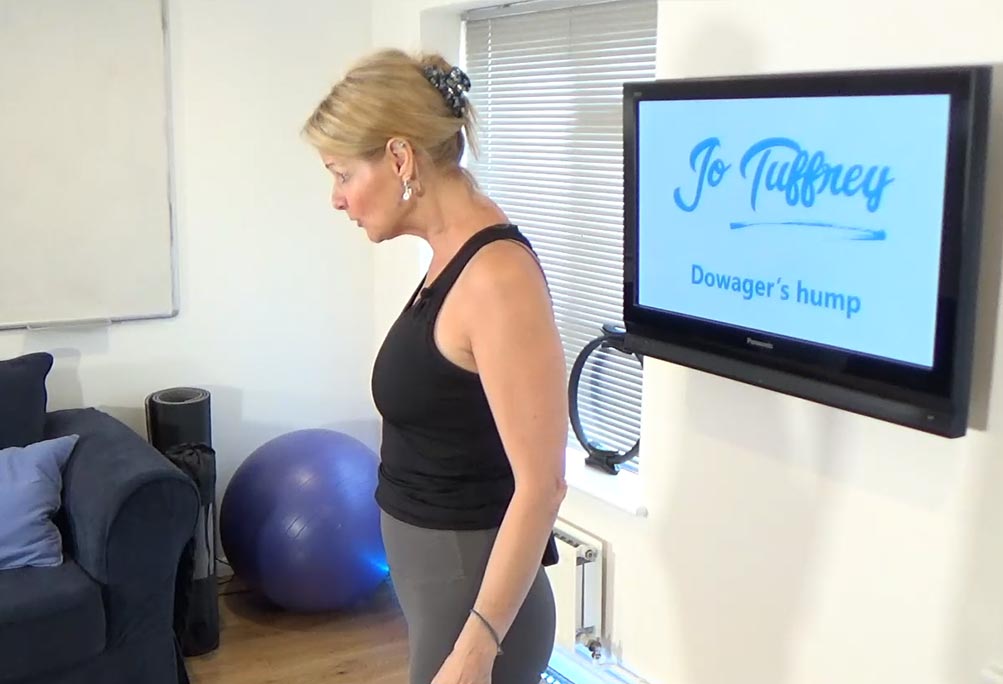
We’re ‘forward-moving’ creatures, and so we tend to get a little bit more round shouldered because we’re moving forward … we’re texting, we’re on computers, we’re reading, we’re driving. When you get very tight through your front line and through your chest, you can become a little bit round shouldered.
As we’re moving forward, the head moves forward and so the head is misplaced and it puts lots of stress on the neck and the shoulder line.
If we’re not careful, we end up like this (not attractive, I know 😮):
What sort of exercises do we need to rectify the Dowager’s hump?
We need to strengthen the back line.
We need to realign the neck line and the head.
And we need to open up the front line.
Be aware that there’s so much tension in this area, if we’re just an inch forward through the head line, it can put approximately an extra 10 pounds more force on the neck line. So, we really need to make sure that we are realigned in our posture.
First of all, I’m going to strengthen the backline, namely the rhomboid muscles which are located on your upper back and draw the shoulder blades together …
Exercise #1 – wide postion
We’re going to do a wide position, first of all.
If you have got a doorframe, you can do this with the forearms on the doorframe and you gently just lean into the doorframe:
Tip: Lean the whole body in, so you feel a stretch through the front of the chest – pec, minor and pec major.
Next, extend the arms up into a Y position, draw the navel to the spine, bend the knees slightly to release the lower back and ground into the floor with the feet.
Now – send the arms back -almost kissing the shoulder blades together. Hold it in place for 5 seconds – it’s deceptively strong. The video will explain more.
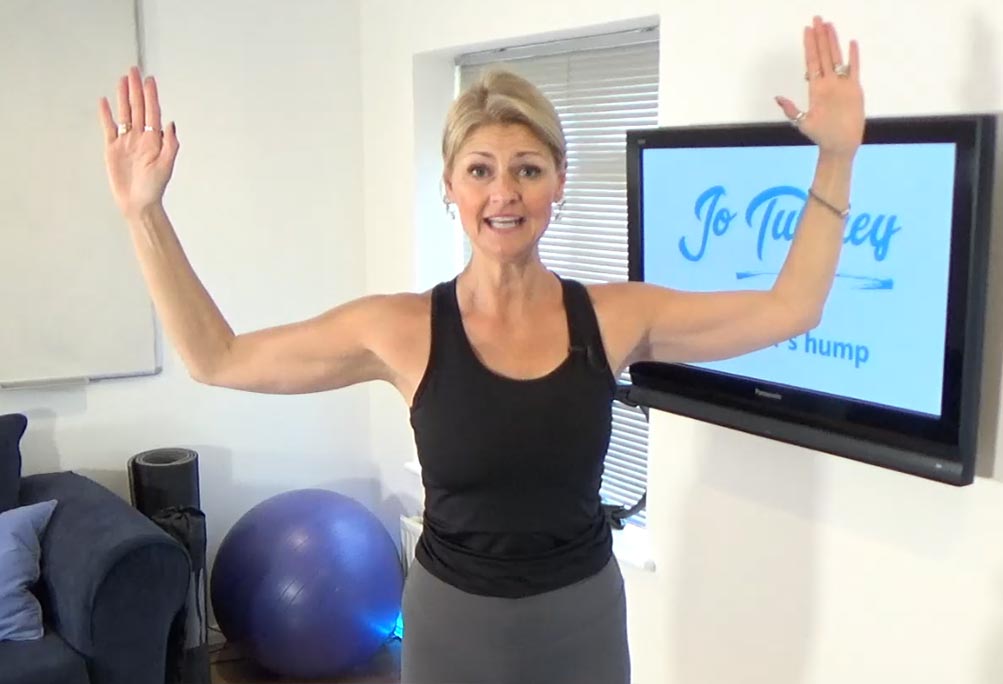
Exercise #2 – T-position
Next – Let’s go into a T.
Turn the palms to face the screen and bend through the knees, engaging the pelvic floor
Once again, kiss those shoulder blades together. Realign that neck lines. Take the arms back.
Where can you feel this again? Imagine the shoulder blades gently embracing, so the arms are pulled back slightly. Muscles work antagonistically together. As one muscle stretches, the other one is engaging. Hold it for 5-10 seconds and then relax. It’s deceptively strong!
Exercise #3 – W-position
Next – we’re going to do the “W”!
Turn the forearms to face the screen and gently engage the shoulder blades together. I always imagine angel wings – the arms are the wings and the shoulder blades is where the wings insert.
We want that part to be strong, so that when we’re moving the arms, we’re still strong in the body.
Hold for 30 seconds and then relax and repeat.
Next we’re going to work into a dumbwaiter.
Exercise #4 – dumb waiter
The palms should be up and the elbows underneath the shoulders.
Here we’re getting an external rotation at the top of the humeral head, so we’re stretching out the chest muscle that comes across the chest and inserts underneath the bicep.
Stretch the chest and externally rotate. Then hold for 10 seonds. You will feel that underneath your bicep, as you stretch it out where the insertion is.
Don’t hold any tension in the neck line as you release.
Here, we’re getting into the rhomboids and into the back. We’re creating tone into the back.
Do that twice more – externally rotate from the top of that humeral head. Really feel that stretch! Imagine your energy coming out through the crown of the skull.
Go through that same movement once more.
Do know that one arm is going to feel a little bit different. I can open out one arm more than the other. It doesn’t matter. – we’re all different!
If you work with a computer and mouse – you might be a little bit more internally rotated if your workstation isn’t perfectly in front of you.
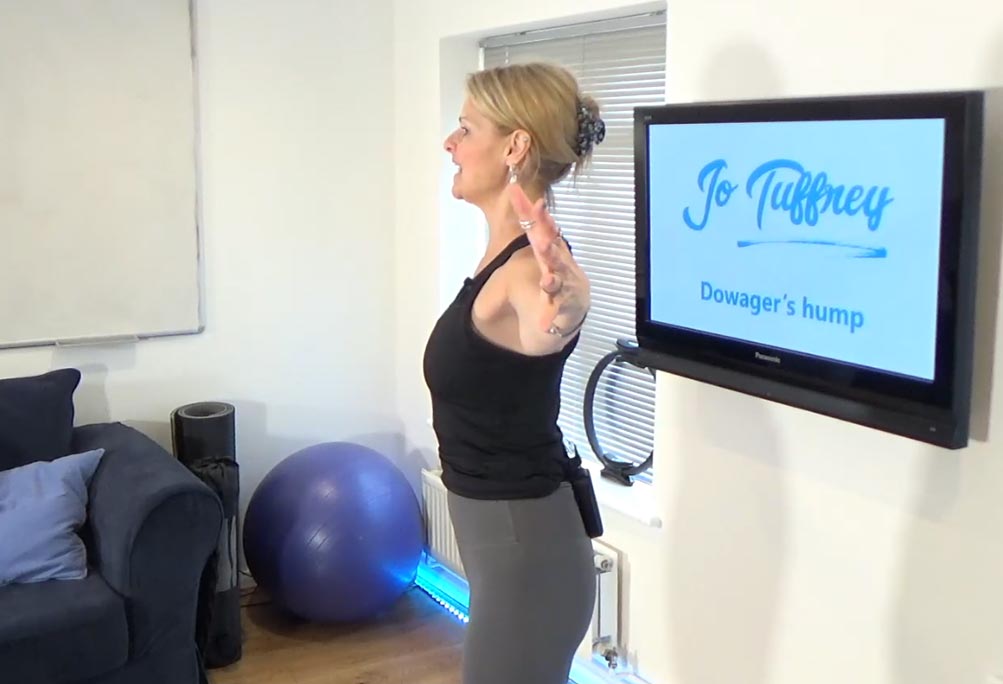
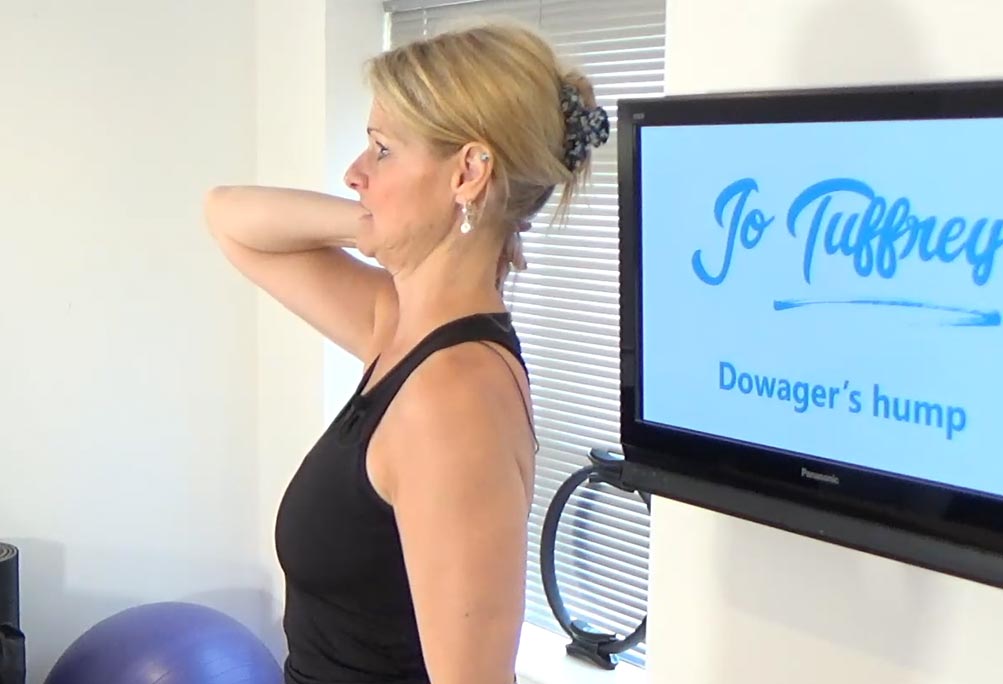
Exercise #5 – neck retraction
Now we’re going to look at the position of the neck line.
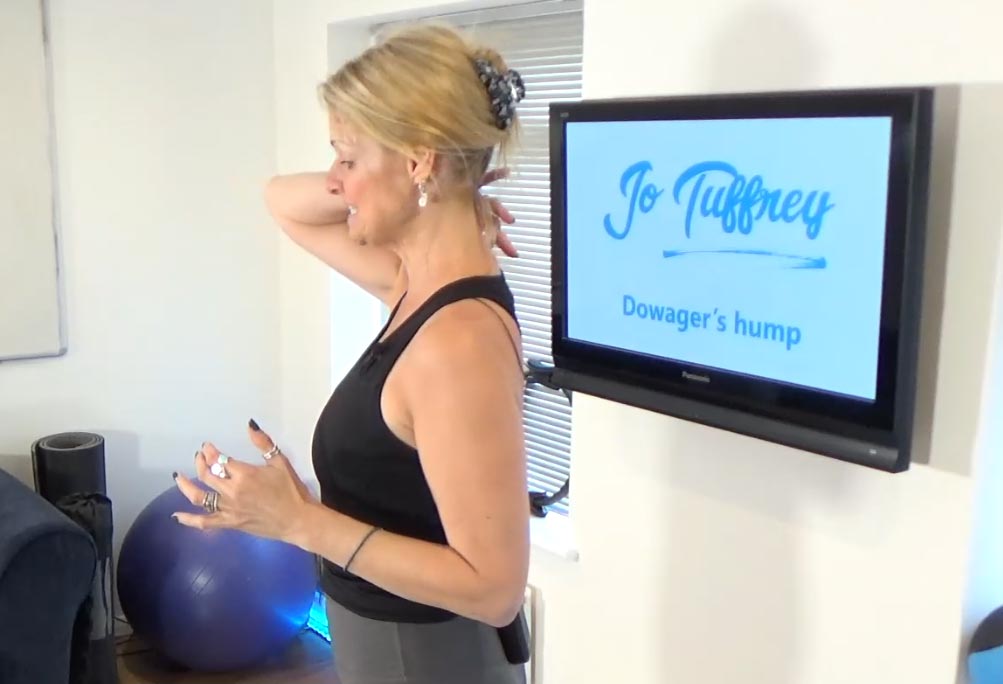
Put your middle finger and your first finger on the nobbily bit, the top or the bottom of the neck. Over time, if the head is still forward, you do get that fatty deposit on the top. In the image below – I’m really exaggerating this.
When you look up – if you’re not careful, your posture doesn’t change. It looks so bad! And then it gets worse – the belly protrudes!
We need to rectify this.
Press into that C7.
Next, imagine somebody is in front of you and imagine they have got bad breath.
As they come towards you, press into C7 and neck retract.
Then, imagine they go away – and bring the neck back into line.
Repeat this multiple times.
It might help if someone records this for you? So you too can look like me above! It’s the most unattractive exercise ever. So I apologize. But it works!
Keep finding that alignment and release.
How often should you do these Dowager’s hump exercises?
I would recommend a minimum of 3 times per week.
In an ideal world – you’d do this every day if time allows.
Just take 10 mins out from your day in front of a mirror and you’ll soon see a difference.